
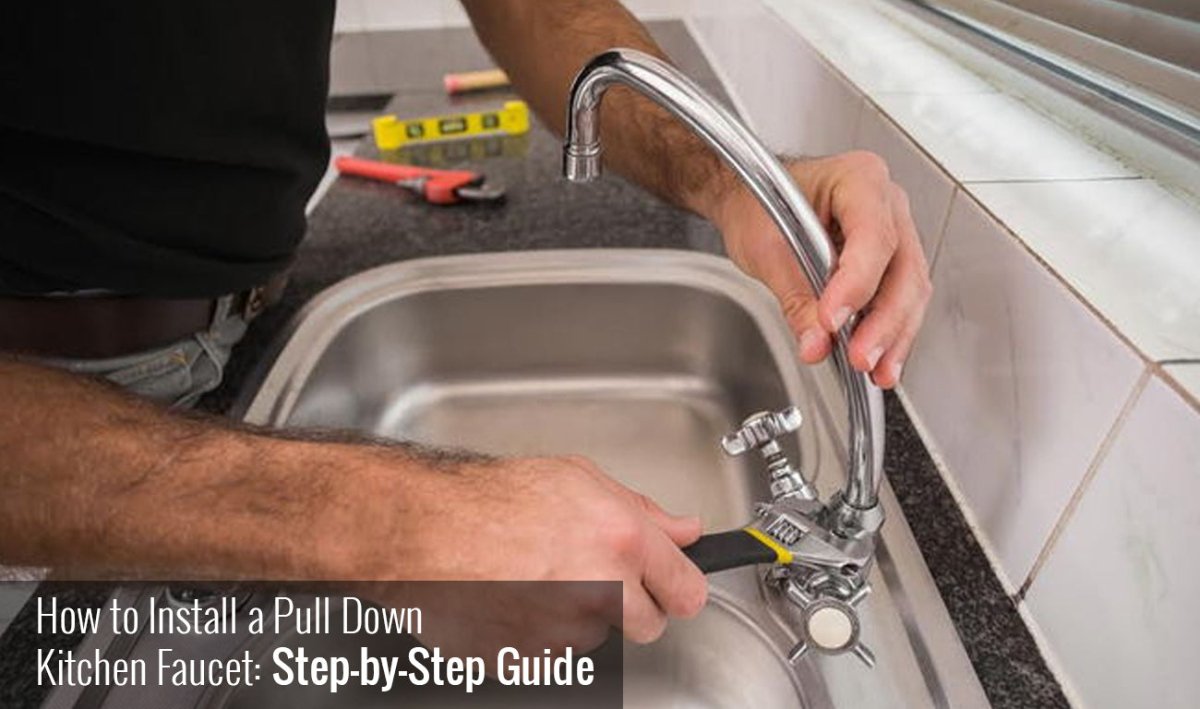
Installing a pull down kitchen faucet can be a great DIY project that can help to update the look of your kitchen. In this step-by-step guide, we will take you through the process of installing a pull down kitchen faucet, from start to finish.
Before we begin, it's important to gather all the tools and materials you'll need. First, you'll need a set of plumbing tools, including adjustable pliers, an adjustable wrench, a basin wrench, and Teflon tape. Depending on the specific model, you'll also need a new pull down kitchen faucet, a mounting gasket, and any other hardware that you may require.
Step 1: Turn off the Water Supply

The first step in installing a pull down kitchen faucet is to turn off the water supply to your kitchen sink. This is a crucial step because it will stop the water from flowing through the pipes while you're working on the faucet. To turn off the water supply, locate the main water valve and turn it off.
Step 2: Remove the Old Faucet

Once you turn off the water supply, you can remove the old kitchen faucet. To do this, you'll need to use a basin wrench to loosen the nuts that are holding the faucet in place. If the nuts are difficult to remove, you can use adjustable pliers to help. Once you remove all the nuts, you can carefully lift the faucet out of the sink and set it aside.
Step 3: Install the Mounting Gasket

The next step is installing the mounting gasket, a rubber ring that sits between the sink and the new faucet. The gasket is important because it helps to create a tight seal between the sink and the faucet, preventing any leaks. To install the gasket, simply place it into the hole in the sink and press it firmly into place.
Step 4: Install the Faucet Base

Next, you'll need to install the base of the new pull down kitchen faucet. To do this, you'll need to align the base with the holes in the sink and then tighten the nuts to secure it in place. Make sure to securely tighten the base, as this will prevent any leaks.
Step 5: Attach the Hose

Once the base is securely in place, you can attach the hose that you will use to connect the faucet to the water supply. To do this, you'll need to screw the end of the hose into the base of the faucet. Once the hose is securely attached, you can connect the other end of the hose to the water supply.
Step 6: Install the Pull Down Sprayer

Now it's time to install the pull down sprayer that you will use to control the flow of water from the faucet. To do this, simply screw the sprayer into the base of the faucet. Once the sprayer is securely in place, you can attach the water supply hose to it.
Step 7: Turn on the Water Supply

The final step in installing a pull down kitchen faucet is to turn on the water supply. To do this, simply turn the main water valve back on. Then, turn on the faucet and check for any leaks. If there are no leaks, you can proceed to use the faucet as normal.
In conclusion, installing a pull down kitchen faucet is a straightforward process that can be completed by most DIY enthusiasts. By following these simple steps, you can easily update the look of your kitchen and enjoy a new, stylish, and functional kitchen.