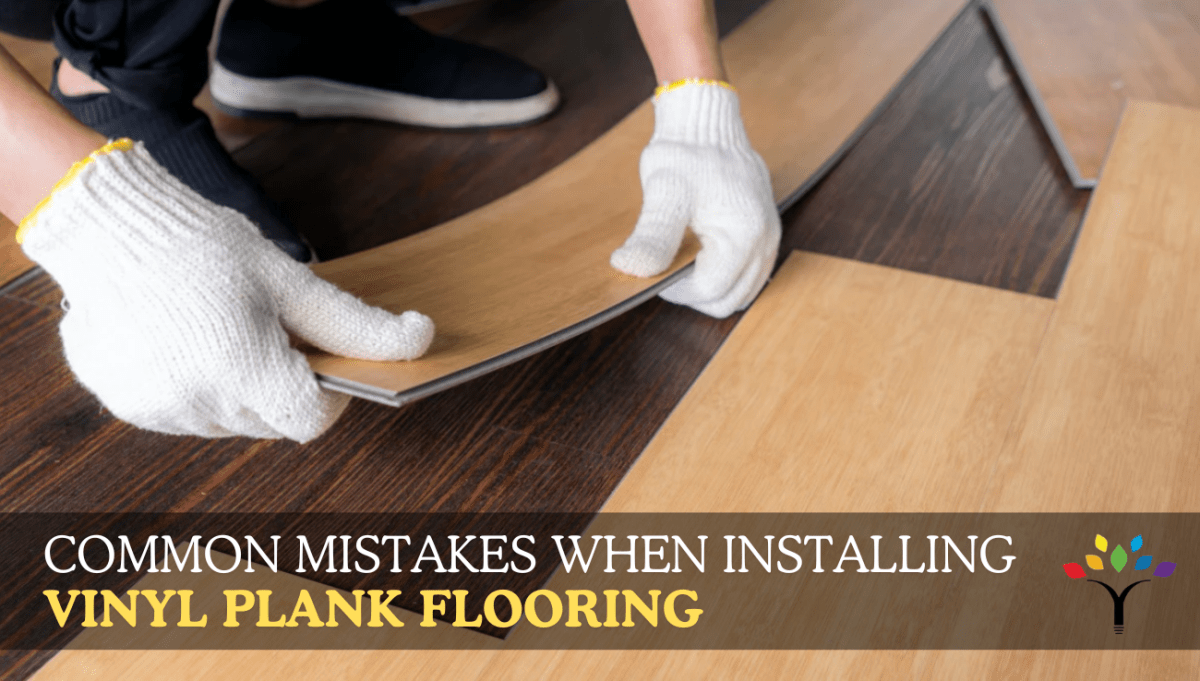
Vinyl plank flooring offers a durable, modern look and a robust surface. It can greatly enhance any area. People make common mistakes when installing vinyl plank flooring, despite its apparent simplicity. Today, we'll go deeper into the common errors that homeowners make when installing vinyl flooring and demonstrate how to steer clear of bad vinyl plank installation:
1. Skipping Proper Subfloor Preparation
Ignoring the subfloor preparation before flooring installation is one of the major mistakes people make. When it comes to flaws underneath, vinyl plank flooring is very harsh. Your new floor's lifespan may be shortened by uneven wear and tear caused by subfloor dips or bumps.
How to Fix It: Make an effort to maintain the smoothest, most level subfloor you can. Fill up any voids and sand down any raised sections. It makes it reasonable to test for moisture on concrete flooring. Vinyl planks may expand or deform if they are subjected to excessive dampness. Consider utilizing a vapor barrier or moisture-resistant underlayment if the relative humidity is high.
2. Not Acclimating the Flooring
Vinyl plank flooring has to acclimate to its new location's humidity and temperature before installation. This is a necessary acclimation to prevent expansion, contraction and dips in vinyl plank flooring during installation, which might harm your well-laid flooring.
How to Fix It: Move the flooring into the designated area and allow it to remain there for a minimum of 48 hours. This stage lowers the possibility of issues following installation by ensuring the material adapts to the room's circumstances.
3. Ignoring the Layout
Beginning your installation without planning the layout can lead to aesthetically displeasing results, especially in rooms that require many cuts. This oversight can result in too many short planks at the room ends or awkwardly narrow pieces along the walls.
How to Fix It: Measure the room and plan the layout to ensure the planks are evenly distributed. Ideally, the planks at opposite walls should be roughly the same width. Also, staggering the seams of the planks adds to the floor’s stability and enhances its appearance. Aim to stagger the seams by at least 6 inches from row to row.
4. Incorrect Installation of the First Row
The first row sets the tone for the entire installation. Suppose you learned how to stagger vinyl plank flooring but forgot to cut the first row planks, this will disturb your staggered layout. An uneven first row can throw off the entire project, leading to gaps and misaligned planks down the line.
How to Fix It: Take extra time to ensure your first row is perfectly straight. Use spacers between the flooring and the wall to allow for expansion. This small gap will be covered by base molding and is essential for preventing buckling as the floor expands and contracts.
5. Forgetting to Check the Plank Before Installation
Rushing can occasionally result from the joy of watching a new floor come together, and this hurry might lead to forgetting to check each board for flaws before placing it down. Not taking proper time to plan and execute will result in problems installing vinyl plank flooring.
How to Fix It: Check each board for damage or defects before fastening it. Installing a damaged board might compromise the floor's overall integrity and appearance. In the long run, this straightforward check can save you stress and time.
6. Overlooking the Expansion Gap
Vinyl planks expand and contract with changes in temperature and humidity. Failing to leave enough space around the perimeter of your room can lead to buckling.
How to Fix It: As mentioned earlier, ensure you leave enough space (usually a quarter-inch) around the edges of your flooring. This gap will allow the planks' room to expand without causing damage.
7. Incorrect Sealing of Edges in Moisture-Prone Areas
Vinyl plank flooring can sustain water damage and lose its integrity if the edges are not sealed, especially in damp spaces like basements, kitchens, and bathrooms. Water seeping through the edges might damage the flooring and eventually cause the boards to bulge or deform.
How to Fix It: Apply a silicone sealer to the edges of the vinyl planks where they contact the walls, fixtures, or other transitions after installation. By acting as a barrier, this sealant keeps water from getting below the flooring. To preserve the visual attractiveness of your flooring, make sure the sealer you choose is transparent or color-matched. This simple step can significantly extend the life of your flooring in moisture-rich environments.
8. Using Improper Tools and Techniques
Bad vinyl plank installation often results from using incorrect tools or methods. For instance, striking the planks directly with a hammer may shatter the locking mechanism or the plank itself.
How to Fix It: Using the appropriate tools for the task is the best approach to remedy it. The boards may be securely fastened together without risk of damage by utilizing a rubber mallet and tapping block. See some tutorial videos or refer to the installation instructions provided with your flooring if you're not sure what to use or how to do it.
Conclusion
After you are through the article, you are in a position to install your vinyl plank flooring successfully by avoiding common mistakes when installing vinyl plank flooring. Never forget that an effective finish depends on careful planning. If you take your time in the planning, preparation, and installation process, you will be rewarded with a floor that is not only aesthetically pleasing but also long-lasting.
We at BuildMyPlace are here to assist you in selecting the appropriate supplies and add-ons for your flooring projects. View our selection or schedule a video chat with one of our professionals now!


