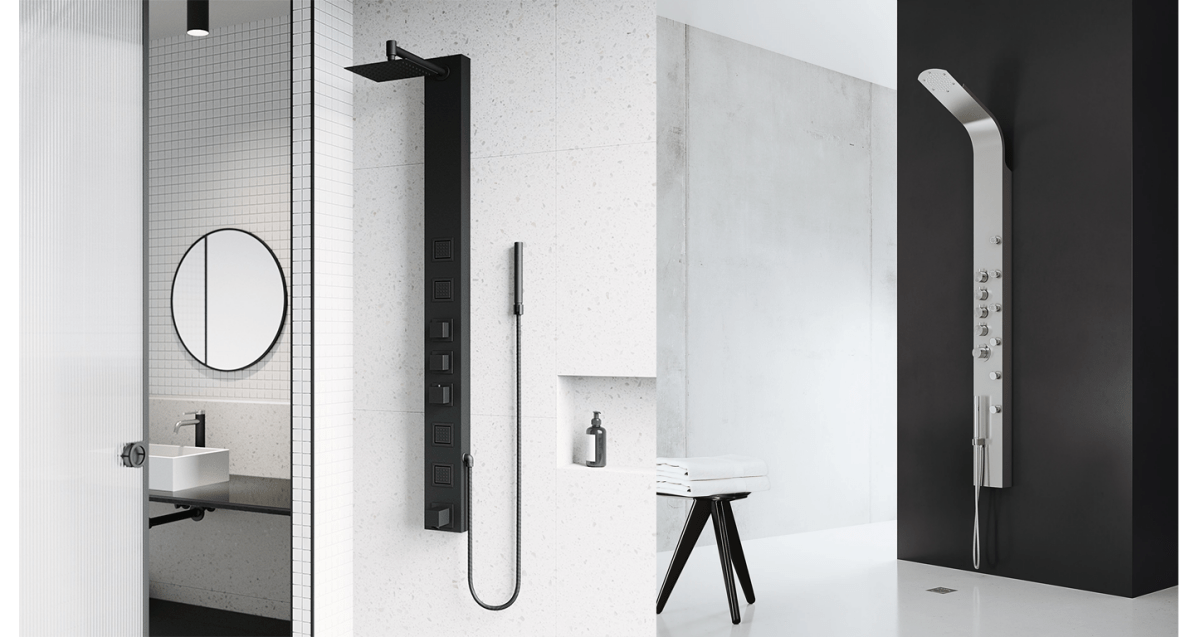
Enjoy the calm and serenity while having a total spa-like experience at your home. These shower panel systems are designed with pressurized aqua jets and body sprayers which let you escape from stress and anxiety. The latest feature of the shower panel system revitalizes your mind, body, and soul.

This stylish shower panel promotes intelligent hydrotherapy to relieve muscle pain and promote better sleep. They are available in a range of various shapes, sizes, and costs. With an in-built handshower, this shower wall panel system brings flexibility to the consumers.
Today, let’s discuss the installation of the shower panel system in easy steps.
Installation of Shower Panel System

Step 1
The very step of installing a shower panel with jets is to determine the installation location and mark the position. Then hold the panel in place to drill the holes.
Step 2
Drill the holes with an appropriate drill on the wall surface.
Step 3
Collect the mounting hardware. Then attach the mounting bracket to the wall with mounting hardware. The variety of mounting hardware used will depend on the material of the wall. If you do not get the mounting hardware with the shower wall system, you can purchase it at your local hardware.
Step 4
Fix the hand shower hose on the side of the shower panel. Then, starting from one nut to the other, gradually tighten up them until both are tight.
Step 5
If it comes with a separate shower arm, insert the new arm in the shower panel and twist to tighten. Use a wrench to finish tightening. To protect the finish, wrap a dry cloth around the shower arm.
Step 6
Connect the flexible water feed tubes to the main water supply.
Step 7
Turn on the water supply to check there are no leaks in the water feed tubes before you fix it to the wall. If there are no leaks, continue with the installation. If there is any leakage, use your adjustable wrench to tighten the connections as necessary.
Step 8
Fix the shower panel to the wall by hanging from the mounting bracket. Make sure it is hung evenly and level; adjust it according to your need.
Step 9
When the shower panel is hung in place, turn on the water to check all the connections are tight. Also, make sure hot & cold supplies are working correctly. Then, redirect water to each output and allow the water to flow for some time.
Step 10
Apply a bead of silicone sealant around the sides and top of the shower panel and wipe away all the excess sealant with a damp cloth. Do not run silicone sealant on the bottom of the shower panel to allow water to exit if there is any leakage.
Conclusion


