
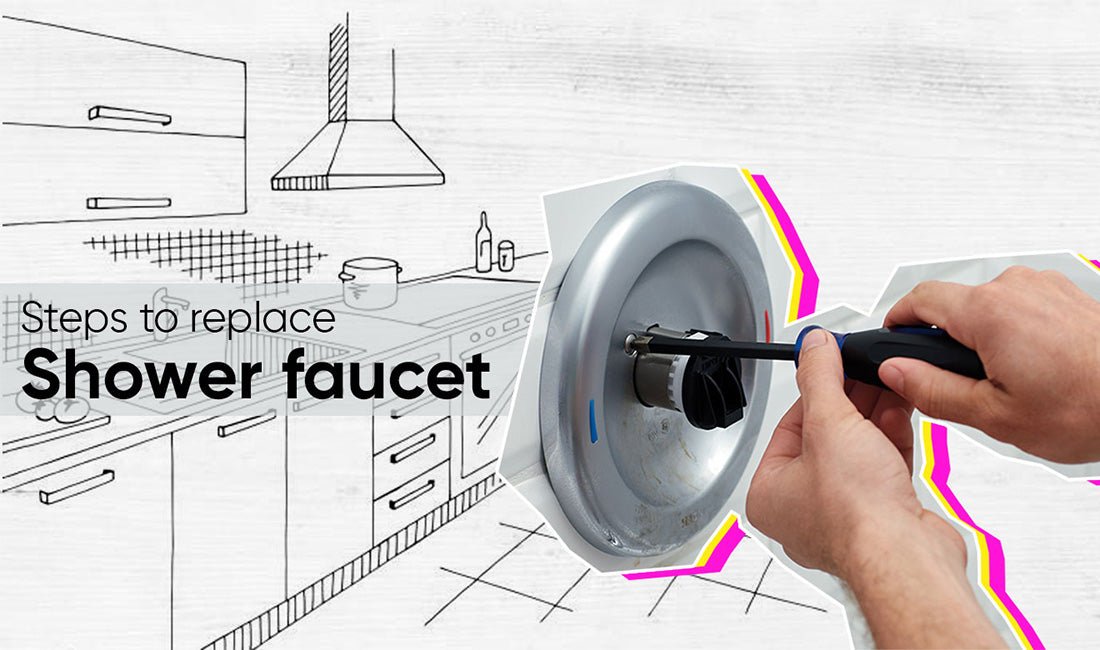
While renovating your bathroom’s interior, how about replacing the shower faucet? This is quite an easy task. Plus, it does not require too much effort or any professional help in particular. With adequate knowledge and skills, you can pull this through by yourself.
However, there are still some steps you need to ensure because they are not supposed to be neglected. Doing so can lead to a problematic situation. Sometimes, even professionals make these mistakes.
So, here’s detailed information on the steps that are involved in replacing the shower faucet. Before beginning the replacement process, make sure that the drain hole is covered with a durian cover because tiny elements, such as nuts, screws, etcetera, can fall inside the drain hole.
Turn off the main water supply
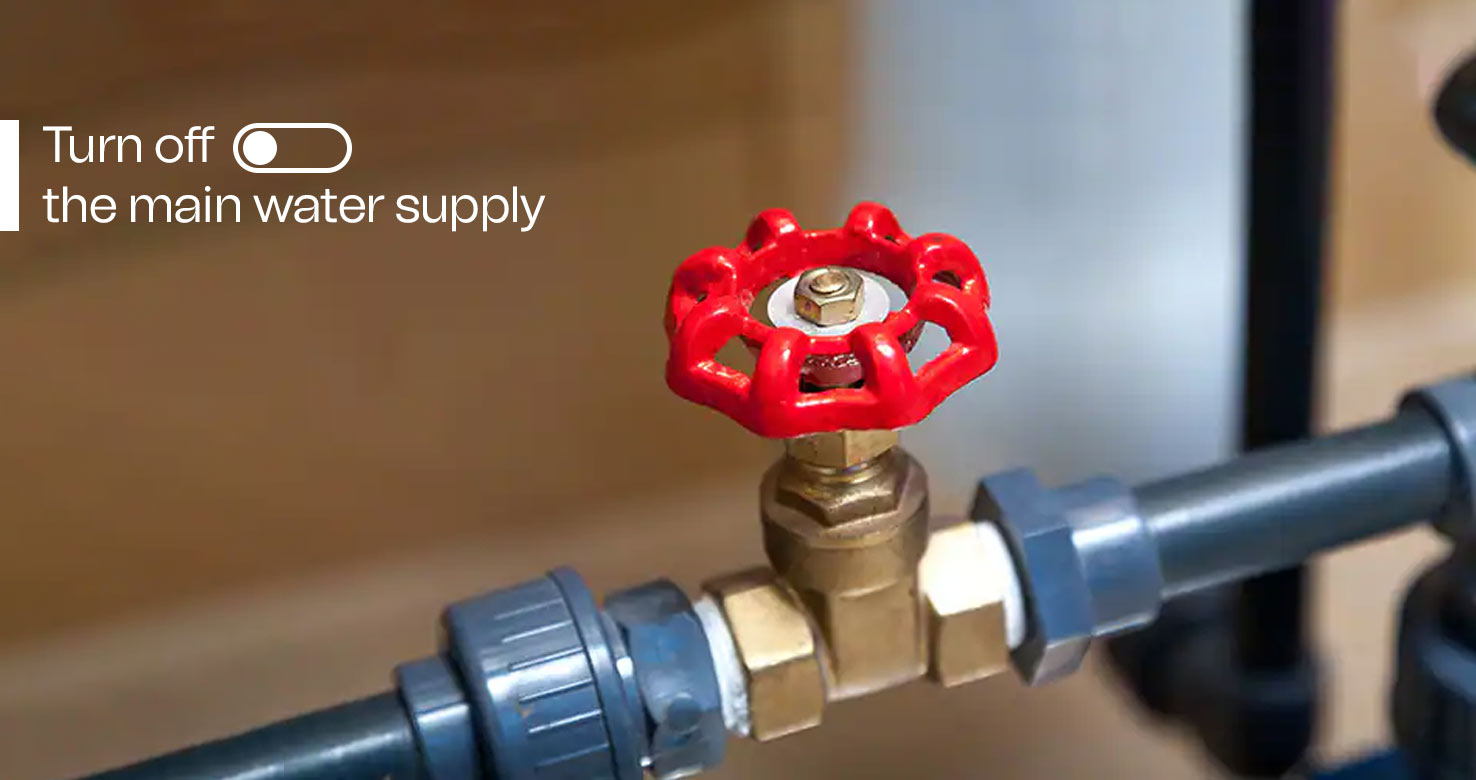
To start the replacement of the shower faucet you are supposed to turn the main water supply off. This is necessary because it will lead to leakage. This step is necessary for all types of faucets. Whether you are replacing a widespread faucet, a tub faucet, a single hole bathroom faucet, or a two handle faucet, you must turn off the valve of the main supply.
Just in case you have separate valves for different plumbing connections, turning them off will work just fine. After turning off the plumbing line, open the taps to let the water and pressure remaining in the pipeline flow.
Remove the old fixture
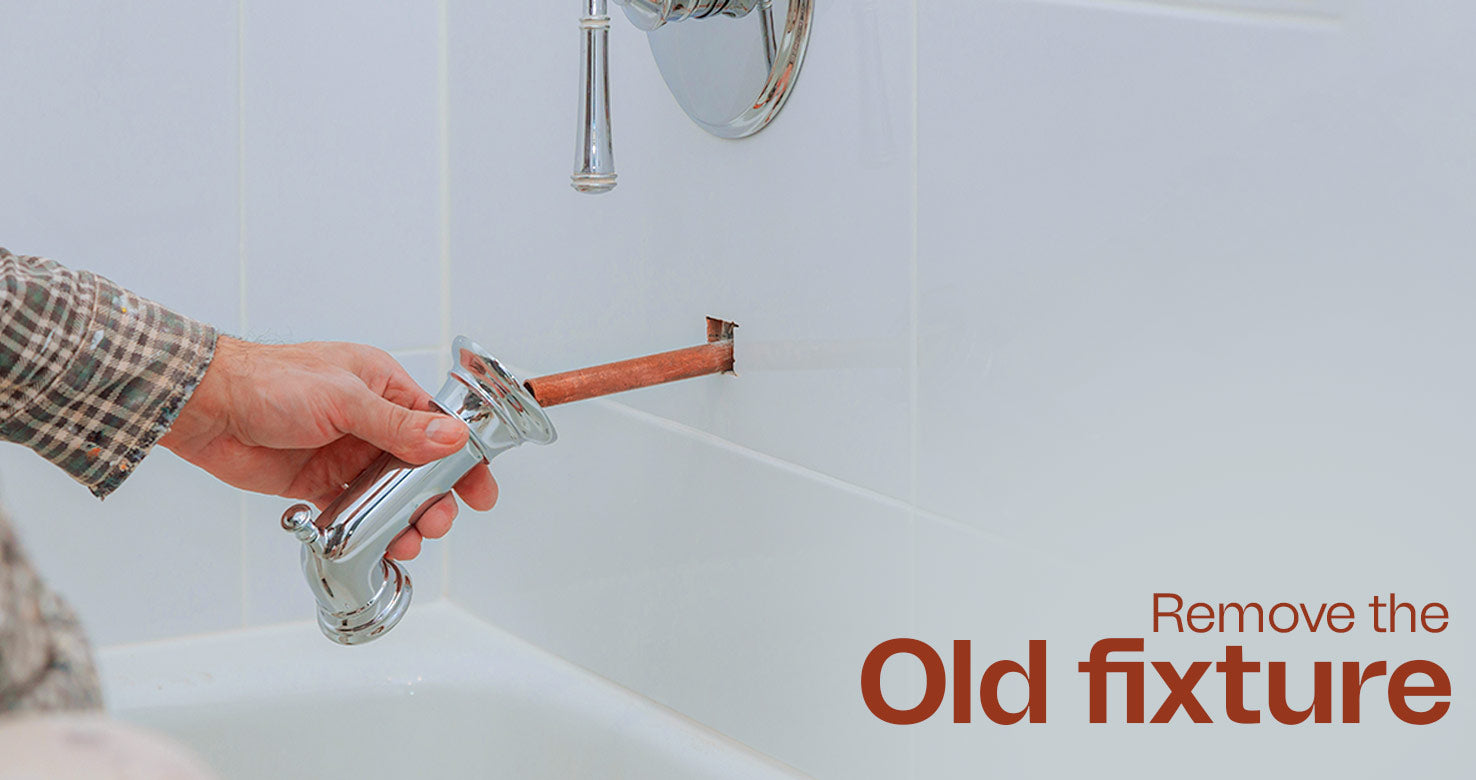
Now, you need to remove the old fixture, i.e., the shower head and spout. Take a plier to remove the old fixture from their plumbing connections. Rotate the plier counterclockwise and try to remove the fixtures carefully. There might be chances that the fixtures do not come off easily. This could be due to rust. In that case, gently pat the plier’s head with a hammer.
Once the bathtub faucet and shower head fixtures are removed, you can move on to the other component of the fixture. With the help of a screwdriver, unscrew them. If possible, try plucking them off with your hands so that you don’t ruin them.
Replace the valve
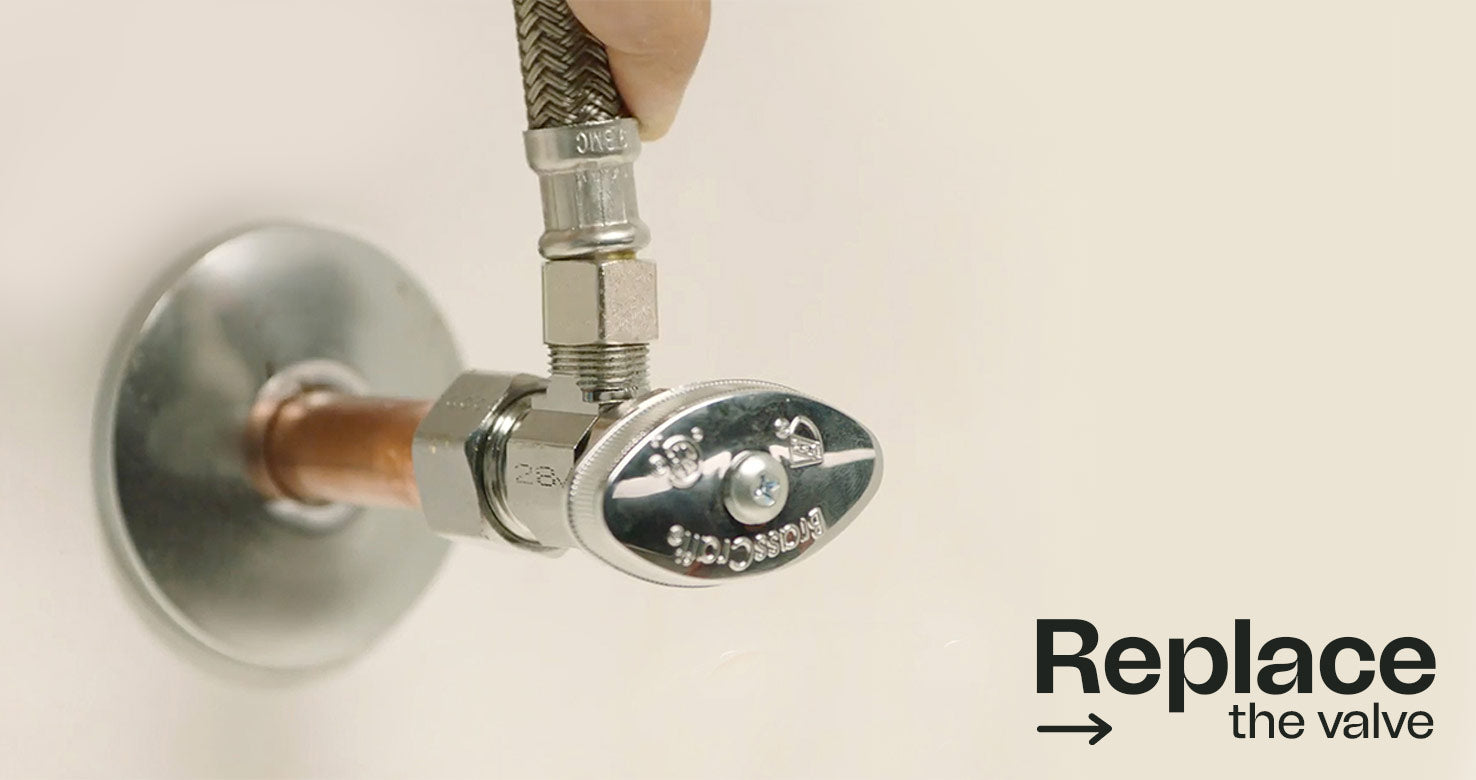
Once you are done removing the old tub faucet and shower head, move forward by replacing the valves. Replacing the existing valves is necessary because there might be damage chances with the older ones.
While selecting a new valve or valve set for the widespread bathroom faucet, make sure you opt for the right type or size. The valve should be of an apt size. Replace the right type of valve with the existing one.
Set up the new plumbing connection
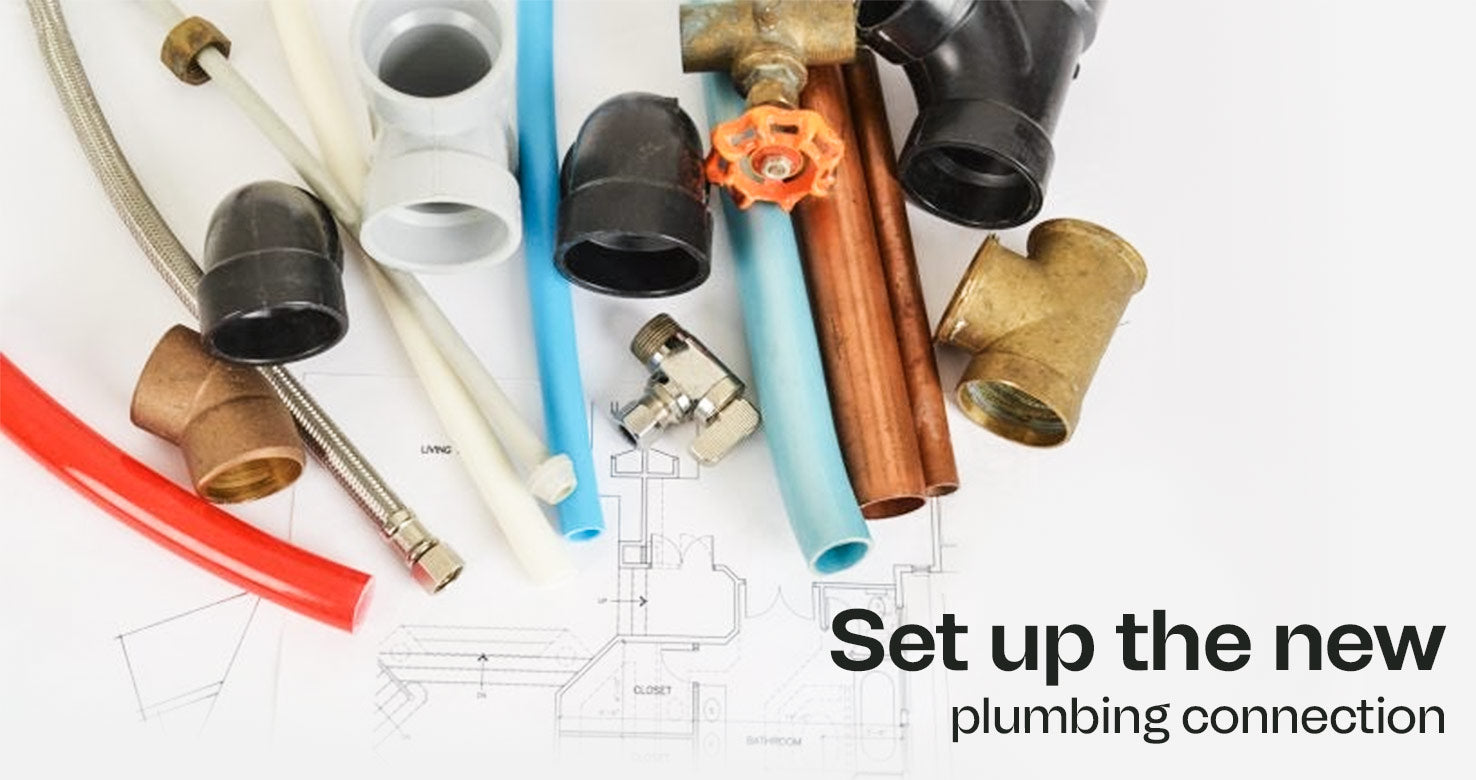
If you are planning to change the previous plumbing only, then this step is applicable. Here, you need to prepare a pipe setup enabled with a valve and spout of your shower faucet. Depending on the type of faucet, the setup may vary. For instance, the connection for a single hole bathroom faucet will be simple, whereas the two handle faucet will divert into quite a complex one. Join the lines and firmly screw them with the right nuts and screws.
Check for leakages in the plumbing connection
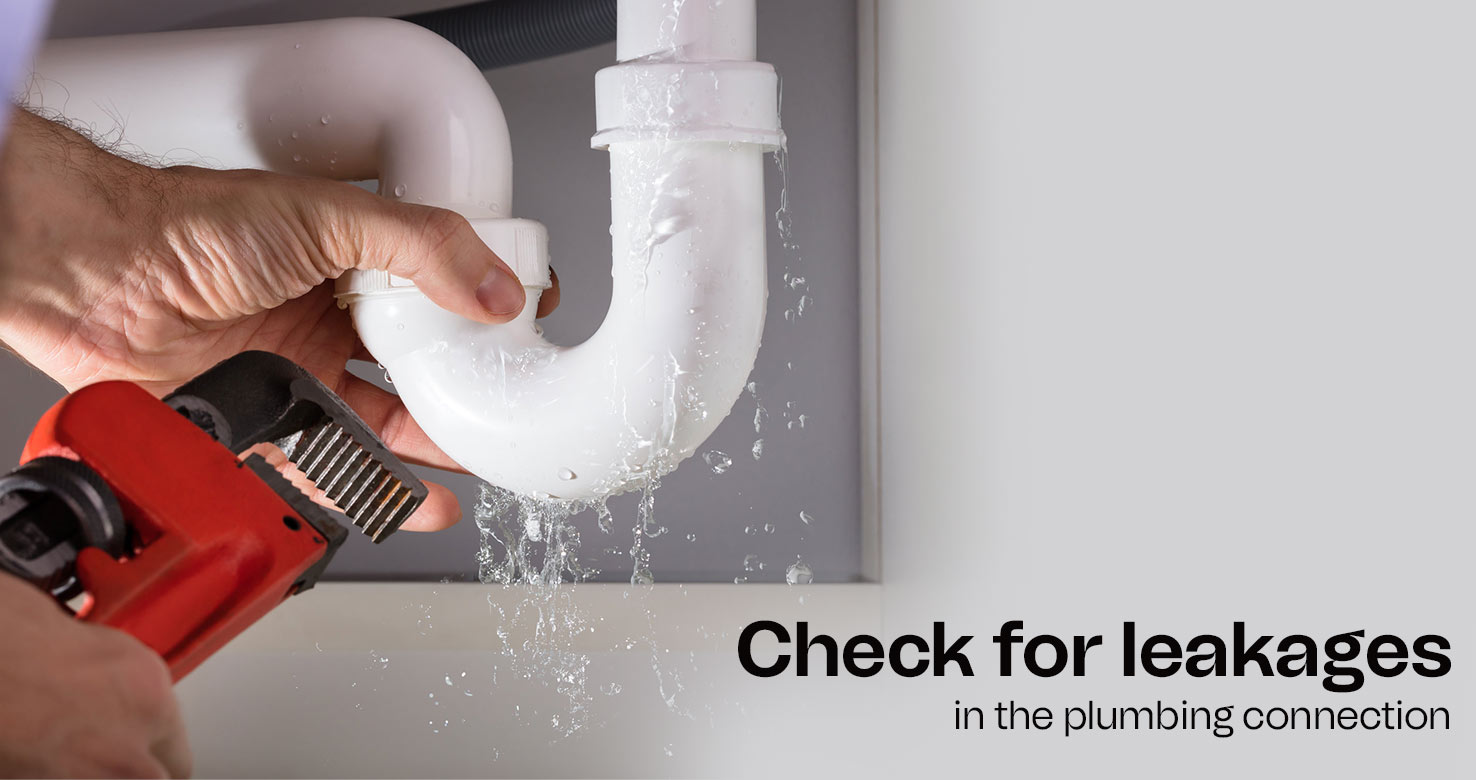
Next, check for the valve. Ensure that it is set in a suitable depth. Generally, the depth should lie between the drywall and the tile. This may vary if you have shower enclosures. Moving on, fix the stringer to an apt depth to fix the plumbing connection. Make sure that they get even support. Then, check for leakages. For that, you need to turn on the water supply to go through the shower head and tub faucet connections. If you find leakage, try unscrewing the connection and do it properly. If everything is ok, turn off the connection and proceed with the following step.
Fix the cartridge before fixing the hose
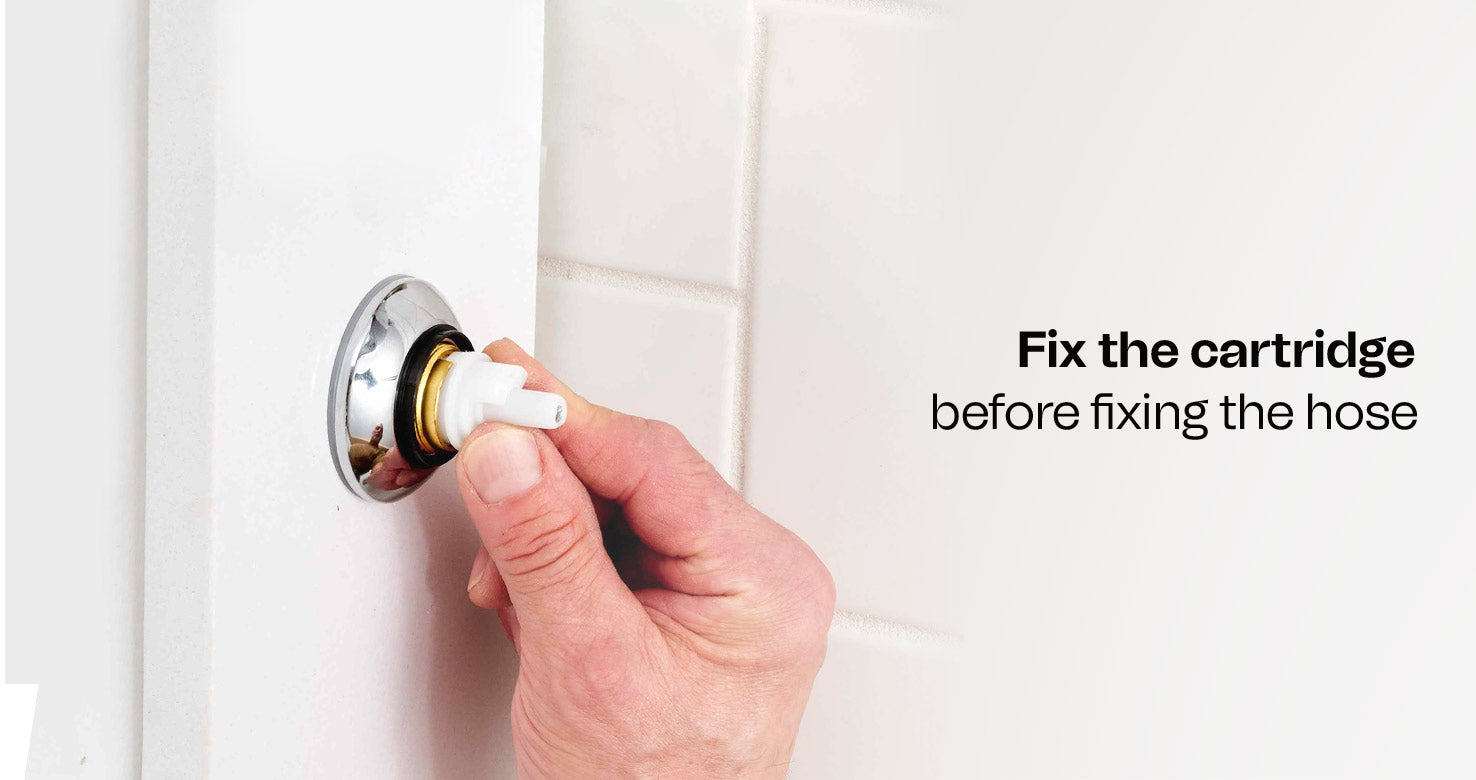
Whether you go with widespread faucet, bathtub faucet, single hole faucet, two handle faucet, or any other type of shower faucet, the installation instructions will vary. So, you need to follow the directions that are mentioned in the manual. Some types of valves have pre-installed cartridges. But if your faucet doesn’t have one, you can prefer skipping this step. If you buy a shower faucet with a pre-inserted cartridge, you need to install the valve prior to that. For that, align the cartridge with the faucet and push it inside. Make sure that the cartridge is lined up with the valve’s slots. Only then it will be fixed aptly. Now, use a plier to screw the nuts tightly.
Install the faucet
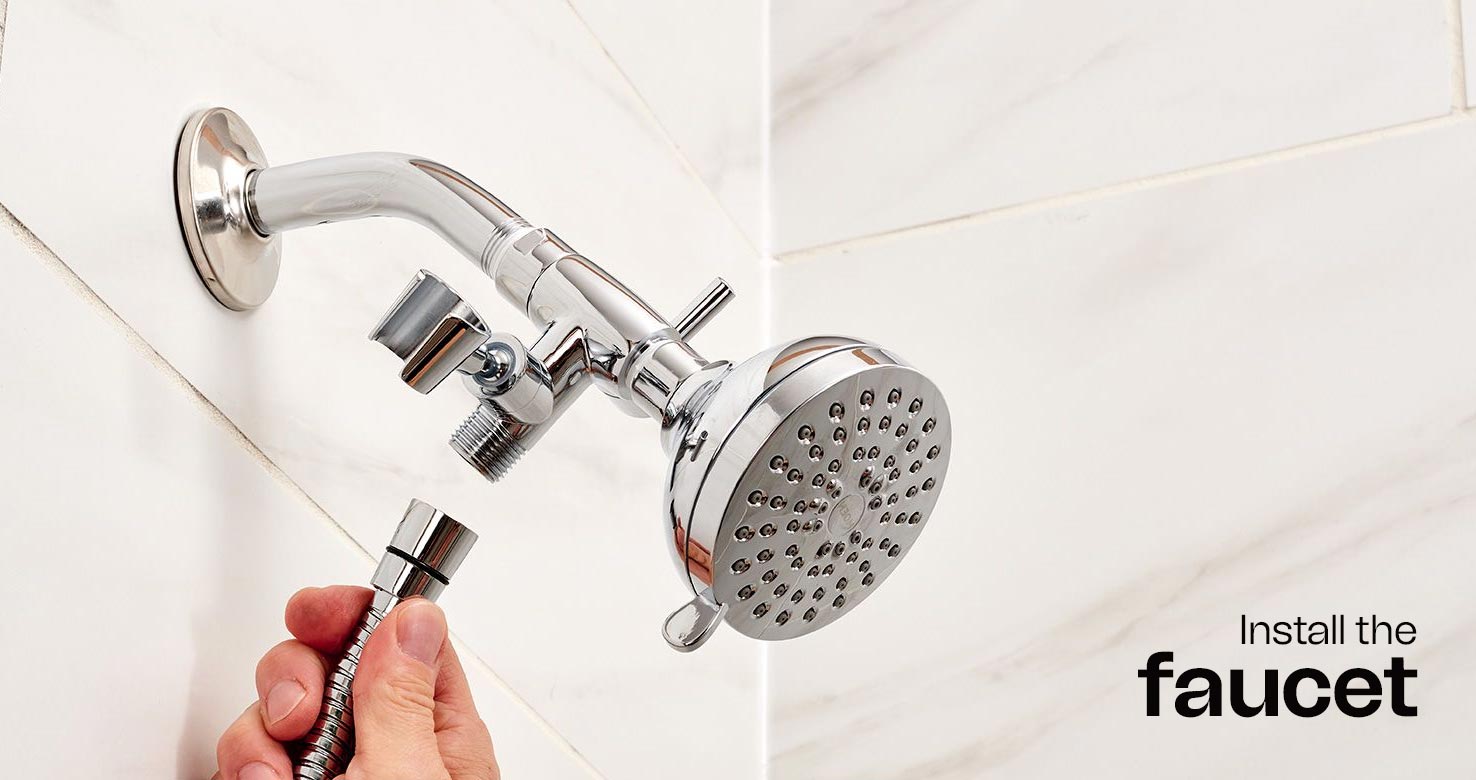
Now, you can proceed with the faucet installation step. For that, you need to make sure to enclose the tub faucet with the pipe connection. Next, use a flux layer around the faucet. Then, remove the O-ring or components that can damage due to heat. Next, use a blow torch for soldering the adapter to the connection. Once the connection is fixed, wait for it to cool down. Then, put the O-ring back and screw the faucet.
Install the new fixtures
Since you have removed the old fixtures for performing the installation process, you need to install the new fixtures now. The process is simple and pretty basic. Screw the fixtures on the wall using nuts. Secure the connection with the plumbing thread. Before finalizing the fixture’s installation, wrap Teflon tape around the thread. Now, screw the shower head and shower faucet and tightly secure them. Now, turn on the main water supply and check for leakages. Follow the step for both hot and cold water lines.
The bottom line:
Replacing the shower faucet is not too much time-taking. A few hours are enough to pull it through. However, the not-so-long procedure can be too time-consuming if you don’t pay extreme attention to the steps and some key requirements. So, make sure that you are following every step mentioned above for installing your widespread bathroom faucet to avoid mistakes. Also, make sure you use the right-sized screws, nuts, and tools to fix the faucet and other fixtures. This will save you from putting in unnecessary effort.