
Introduction
Vinyl plank flooring has gained immense popularity in recent years due to its affordability, durability, and ease of installation. Whether you're a seasoned DIY enthusiast or a novice looking to spruce up your home, installing vinyl plank flooring can be a rewarding project. In this comprehensive guide, we will walk you through the entire process of how to install vinyl plank flooring effectively, ensuring a stunning transformation of your space.
1. Gather Your Tools and Materials
Before you start, it's essential to have all the necessary tools and materials ready. Here's what you'll need:
- Vinyl Plank Flooring: Measure your space and purchase enough vinyl plank flooring to cover the area, plus a little extra for mistakes.
- Underlayment: A foam or cork underlayment will provide cushioning and soundproofing.
- Utility Knife: For cutting the vinyl planks to size.
- Tape Measure: Precise measurements are crucial for a flawless installation.
- Tapping Block and Rubber Mallet: To secure the planks together.
- Spacers: These ensure the necessary expansion gap around the edges of the room.
- Adhesive: If you're using peel-and-stick vinyl planks, you won't need adhesive.
- Pry Bar: For removing baseboards and trim.
- Safety Gear: Gloves and safety glasses for protection.
2. Prepare the Subfloor
Before laying the vinyl plank flooring, you must prepare the subfloor properly. Follow these steps:
Clean and Level the Subfloor
- Sweep and clean the subfloor thoroughly.
- Fill any cracks or holes with a suitable filler.
- Ensure the subfloor is level; use a leveling compound if necessary.
3. Lay the Underlayment
The underlayment serves as a moisture barrier and provides a cushioning effect. Here's how to do it:
Unroll and Cut the Underlayment
- Roll out the underlayment across the room, allowing it to overlap at the seams.
- Cut the underlayment to fit using a utility knife.
Attach the Underlayment
- Secure the underlayment to the subfloor using adhesive or tape.
- Ensure there are no wrinkles or bubbles.
4. Plan the Layout
Careful planning of the layout will result in a professional-looking installation. Consider the following:
Start from the Center
- Find the center of the room and snap a chalk line.
- Begin laying the vinyl planks from the centerline outward.
Stagger the Joints
- Avoid aligning the end joints of adjacent planks to create a staggered pattern.
- This enhances stability and aesthetics.
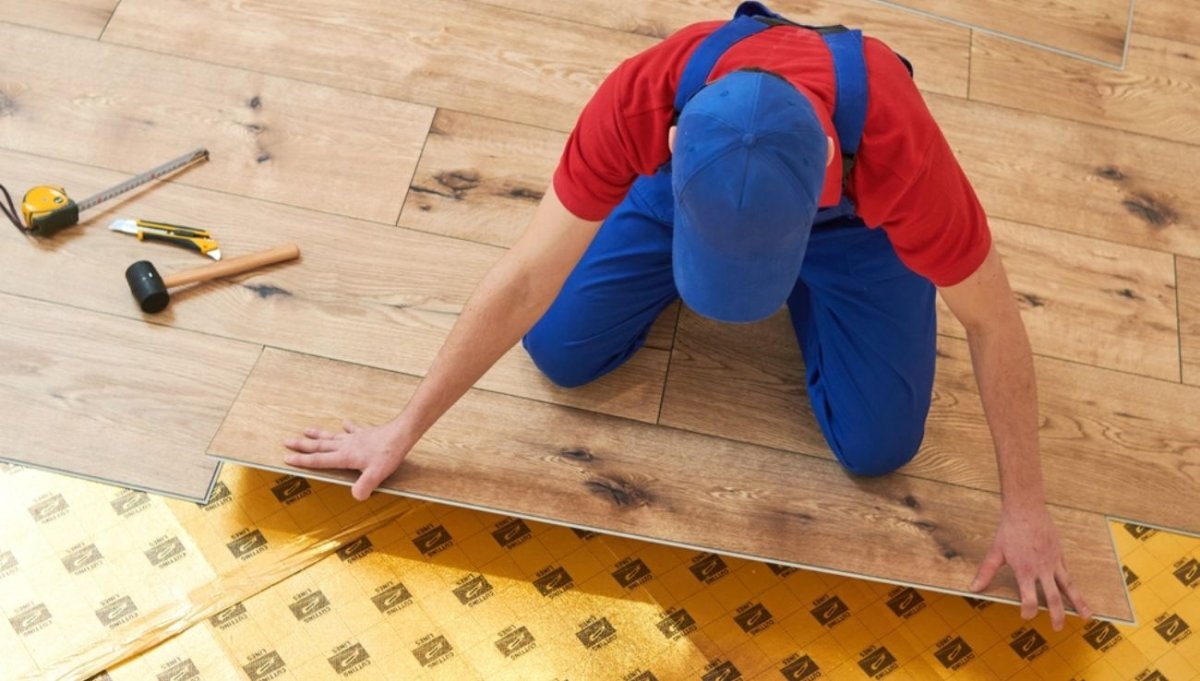
5. Install the Vinyl Plank Flooring
Now comes the exciting part – installing the vinyl plank flooring:
Start Along the Chalk Line
- Begin laying the first row of planks along the chalk line.
- Use spacers to maintain the expansion gap.
Interlock the Planks
- Interlock the planks by angling and snapping them together.
- Use a tapping block and rubber mallet for a snug fit.
Cut Planks to Fit
- Measure and cut planks to fit around obstacles like doorways and corners.
- Ensure a tight fit to the wall.
6. Finishing Touches
To complete your vinyl plank flooring installation, follow these finishing steps:
Install Baseboards and Trim
- Reattach or replace baseboards and trim to cover the expansion gap.
- Nail or glue them to the wall, not the flooring.
Clean and Enjoy
- Give your newly installed flooring a final clean to remove any debris.
- Admire your beautifully transformed space.
Conclusion
Installing vinyl plank flooring is a manageable DIY project that can elevate the aesthetics and functionality of your space. With the right tools, materials, and a step-by-step approach, you can achieve professional-looking results. So, roll up your sleeves, follow our guide, and enjoy your stunning new vinyl plank flooring!
FAQs (Frequently Asked Questions)
1. Is it necessary to use underlayment when installing vinyl plank flooring?
Yes, using underlayment is crucial as it provides insulation, soundproofing, and moisture protection for your vinyl plank flooring.
2. Can I install vinyl plank flooring over existing tile or hardwood?
Yes, you can install vinyl plank flooring over existing hard surfaces, but it's essential to ensure the subfloor is level and in good condition.
3. How do I maintain vinyl plank flooring?
Maintaining vinyl plank flooring is easy. Regularly sweep or vacuum to remove debris, and occasionally mop with a vinyl-friendly cleaner for a fresh look.
4. Can I install vinyl plank flooring in bathrooms and kitchens?
Yes, vinyl plank flooring is moisture-resistant and suitable for bathrooms and kitchens. Be sure to follow proper installation and sealing guidelines.
5. How long does vinyl plank flooring typically last?
Vinyl plank flooring can last up to 20 years or more with proper care and maintenance. It's a durable and long-lasting flooring option for your home.